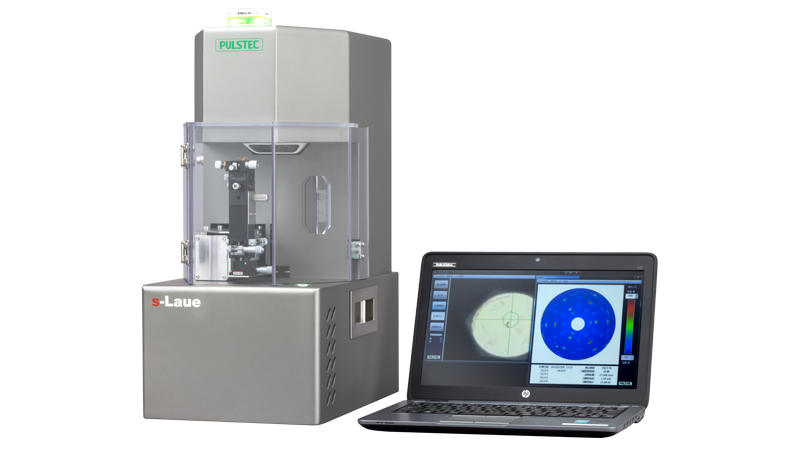
The Laue method is commonly used to precisely measure single crystal orientation or to check crystallinity. Although Laue is an incredibly powerful and effective technique, it can be challenging to conduct. That’s why Pulstec created the s-Laue system, which integrates a camera, microscope, and goniometric stage in one easy-to-use package.
In this article, we’ll guide you on how to use our system to determine single crystal orientation.
1. Position & Prepare Your Sample
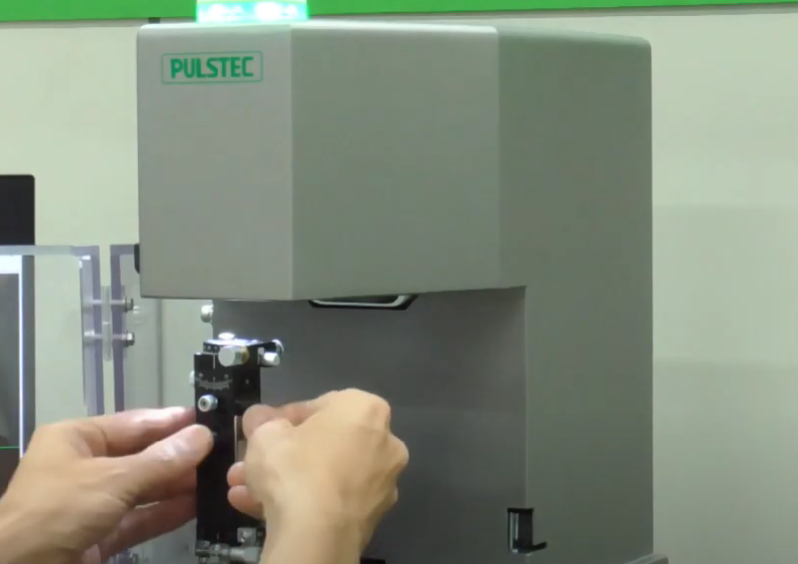
First, open the system’s door and remove the 3-axis goniometric stage, which is detachable from the XYZ slide stage.

Adjust the stage’s dial to its initial position.
Place your prepared sample on the stage. The crystal should be free of any surface damage or contamination to avoid distorted diffraction patterns.
Once the sample is on the mount, set it back into the s-Laue system.
While you’re preparing your sample, know that the X-ray remains off, so you are not at risk of being exposed to radiation.
2. Make Adjustments as Needed
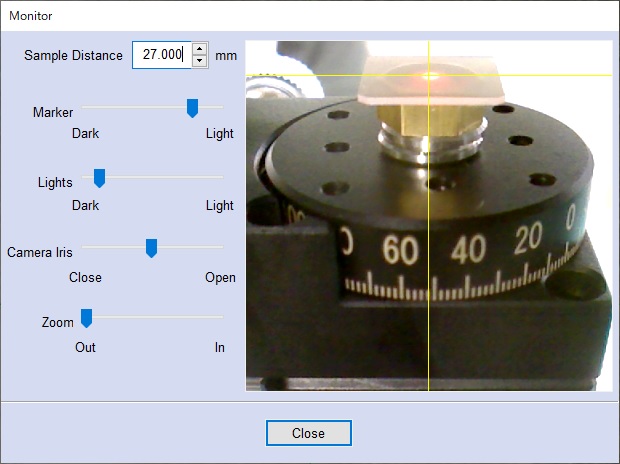
Next, make as many adjustments as needed before starting the irradiation process.
Use the s-Laue software and integrated CCD camera to view the microscope. Adjust the sample’s height on the jack mount until it’s aligned with the marker, where the X-ray will hit. Then, move the marker to the spot on the sample that you want to measure.
When you have finished making your adjustments, close the door to the system.
3. Start the Measurement
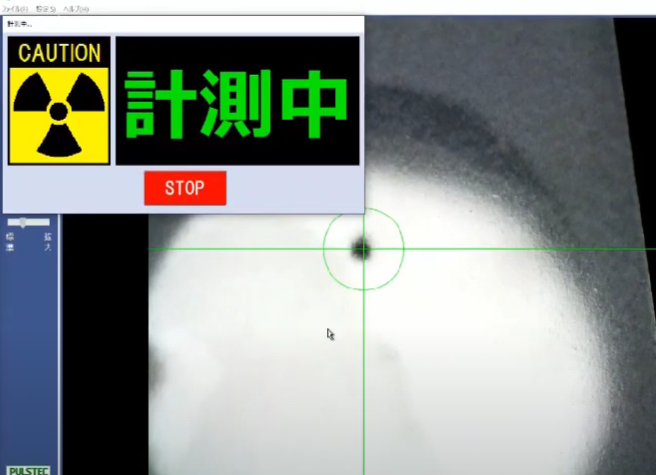
Using the s-Laue software, click the ‘start’ button, which moves the sample into the measurement position and starts the X-ray irradiation process.
The X-ray leakage is zero with its shield box, so there is no need to worry about potential exposure.
Measurements should take no longer than 60 seconds. However, you will know when the measurements are completed once the Laue spots are displayed in the software viewer.
4. Analyze the Laue Spots
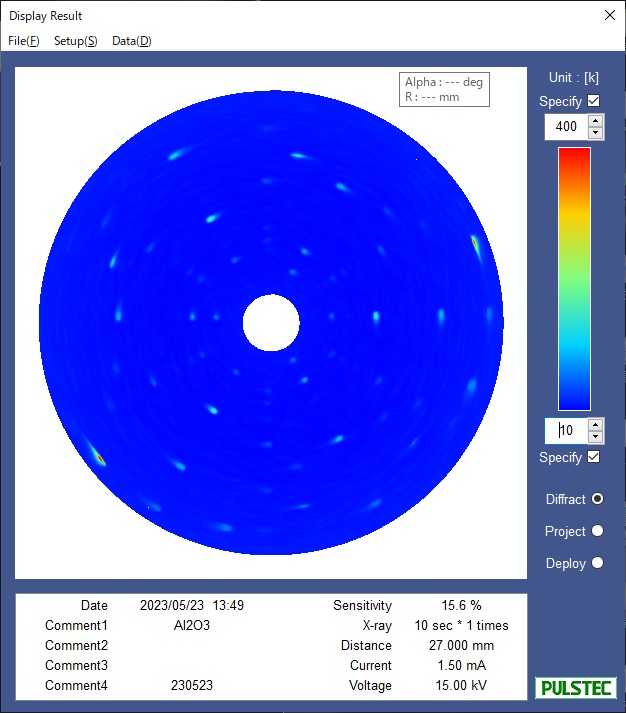
Crystal orientation can be calculated using the projection analysis line. Each spot on the detector can be traced back along a line that intersects with the projection analysis line at the location of the crystal. By understanding where these lines intersect the projection analysis line, you can determine the angles at which different planes of the crystal are oriented relative to the X-ray beam.
Once you’ve determined crystal orientation, you can proceed to the next process, such as cutting or polishing. You can keep the sample on the goniometric stage during cutting, which will maintain its tilt.
Request a Free Demo
Please contact us today if you have questions about the s-Laue or want to schedule a free demo.